Hey everyone, hope you’re having an amazing day today. Today, I will show you a way to make a special dish, homemade vanilla pudding. It is one of my favorites. This time, I will make it a little bit unique. This is gonna smell and look delicious.
Homemade Vanilla Pudding is one of the most popular of current trending meals in the world. It’s easy, it is fast, it tastes yummy. It’s appreciated by millions daily. They’re fine and they look fantastic. Homemade Vanilla Pudding is something that I’ve loved my whole life.
Put down the instant pudding mix. This creamy and flavorful Homemade Vanilla Pudding couldn't be easier or. Reviews for: Photos of Homemade Vanilla Pudding.
To get started with this recipe, we have to prepare a few ingredients. You can have homemade vanilla pudding using 8 ingredients and 5 steps. Here is how you cook that.
Ingredients
The ingredients needed to make Homemade Vanilla Pudding:
- Get 2 cups whole milk
- Get 1/2 cup heavy cream
- Prepare 3 large egg yolks, beaten
- Make ready 1/3 cup granulated sugar
- Prepare 3 tbsp. cornstarch
- Prepare 1/8 tsp. salt
- Take 1 tbsp. unsalted butter
- Make ready 2 tsp. pure vanilla extract
EASY - This recipe is great for beginners. I've been wanting to figure out how to make my own pudding for a while now. Since I've had to give up most corn it's been hard to find a recipe that isn't full of. Homemade Vanilla Pudding - Ever run out of vanilla pudding mix?
Instructions
Steps to make Homemade Vanilla Pudding:
- In a medium bowl, whisk together the beaten egg yolks, sugar, cornstarch and salt….it will be pretty lumpy, but that's fine. Set it aside. Place the milk and cream into a large pot over medium heat. Let it heat to a simmer, stirring often, but do not let it come to a boil. Once it begins to simmer, remove it from the heat.
- Slowly add in 1 cup of the heated milk into the egg yolk mixture while whisking constantly to temper the eggs. Once it's all whisked together, whisk the egg mixture back into the pot of heated milk and return it to the burner. Now, cook this mixture over medium heat for 8-10 minutes, stirring nearly constantly, until it is nice and thick.
- Once thickened, remove the pot from the heat and immediately stir in the butter. Once it's melted in, stir in the vanilla extract. Now run the pudding through a fine mesh sieve with a rubber spatula to remove any lumps and to get the smoothest pudding.
- At this point, either keep it in the bowl you strained it into or separate it into individual serving cups. Either way, you're going to cover the pudding with plastic wrap. You want to press the plastic wrap lightly onto the surface of the pudding, to prevent a skin from forming.
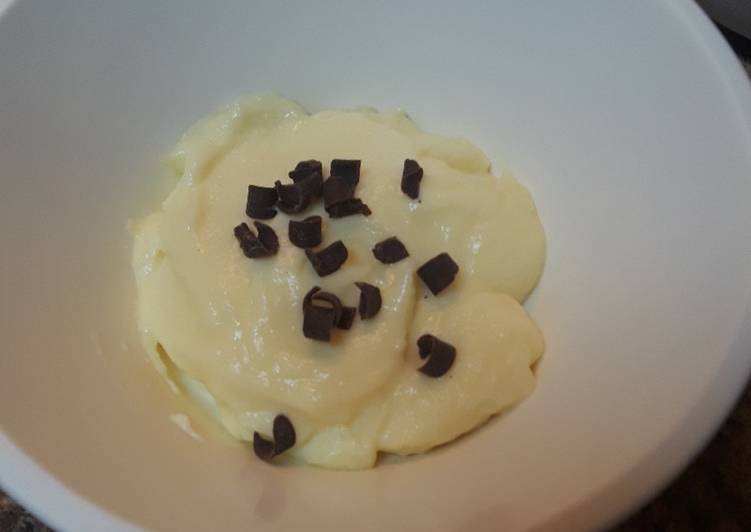
- Let it chill in the fridge for at least 2 hours before serving. Then eat it plain or top with some yummy toppings (pictured here with chocolate curls and banana slices). It'll last up to 3 days in the fridge.
Concerned about the ingredients in pre-made vanilla pudding? This Homemade Vanilla Pudding is a simple dessert to make. Dress it up with some cut fruit and homemade whipped cream for an extra special treat! Creamy, smooth homemade vanilla pudding sweetened with honey instead of sugar. We love this homemade vanilla pudding warm or cold, plain or dressed up with whipped cream or a fruit topping.
So that’s going to wrap this up with this special food homemade vanilla pudding recipe. Thank you very much for your time. I’m confident you will make this at home. There is gonna be interesting food in home recipes coming up. Remember to bookmark this page in your browser, and share it to your loved ones, colleague and friends. Thanks again for reading. Go on get cooking!
Print this page